Text and images by Paul Illsley

Make sure you have lots of overlap between images; normally I try for at least 50% overlap.
Make sure the camera is level. I use a custom mount (the aluminum bent plate shown below) which has room on the base for a bubble level (held on by epoxy glue). I simply went to my local machine shop and told them what I wanted; they were happy to make it for me and it only cost $15.00. You could take this image into your local machine shop and have them make one if you want, this way they will have a good idea what you are talking about if you think you might have a hard time explaining it.

If it’s possible, try and have the camera placed at a point half the height of the vertical extent of the area being imaged. This is most important when you are imaging interiors or buildings so that you don’t have the camera tilted up or down which would create a keystone effect in your images. This keystone effect will result in your final panorama coming out curved instead of straight. I’ve often placed the tripod on top of a solid table or attached it to the top of a sturdy ladder to get it to the proper height.
Think about shooting in a portrait camera orientation. This allows you to record as much vertical information as possible while allowing the camera rotation to take care of the horizontal field of view. I normally use a wide angle lens (24mm equivalent in 35mm format). If you make the back edge of the bracket vertical, you can simply align the LCD screen of the camera parallel with the bracket to ensure it is vertical. Another option would be to hang a small weight off a piece of string and hold it against the LCD display (or front of the lens) to see if the camera is vertical.
Shoot more images than you need. When you record a series of images, record at least two additional images past your area of interest on each side. This allows you to crop the image later without worrying about having the image cropped due to the distorted end images. I use a mount that allows the camera to be rotated at set increment angles; this makes the process more consistent and convenient (but it’s not a necessity).
Rotate the camera around the centre point of the lens (not the camera body). I created this simple camera mount to move the camera body back away from the point of rotation so that each image is recorded with the optical centre of the lens at the point of rotation. It’s often hard to know where the optical centre of the lens is so you might have to guess. A good point to start with would be half way between the front element and the rear lens mount. If you see you are having problems lining up objects in the foreground you might need to move the camera forward or backward a bit until you find the correct location. You could drill multiple holes along the base plate if you choose to use different focal length lenses (but keep the same focal length for each panoramic sequence). This issue isn’t that important if you are recording landscape images but it is important if you are recording images with objects close to the camera.
Set your camera on manual exposure and manual white balance. Because each image will have different scene brightness, each image will be lighter or darker than the adjacent image if you set the exposure setting on auto. I look at the scene and choose the best exposure for the most important area, then use that setting for all the images. If there is a large brightness difference between different areas in the scene I will often record HDR (Hyper Dynamic Range) images of each shot and then stitch the HDR images together. The panoramic images of the church interior (below) were created with 3 HDR images recorded at 1.5 stop increments with the camera mounted on the custom bracket. Remember to set the White Balance to manual so you won’t have strange color shifts between images.
I use PanoramaMaker to stitch my images together but there are lots of other options out there like Hugin (cross-platform, open source).
Having said all of this, I have taken great outdoor panoramas without a custom panorama mount. If you have a simple point and shoot camera try and use the auto exposure lock option (if it has this feature). I will normally point the camera at the area of main interest and press the shutter down to lock the focus and exposure, then rotate the camera to record each image (returning to the main reference area to set the exposure for the next image). This takes a bit of practice but it does make for a better exposed panoramic sequences.
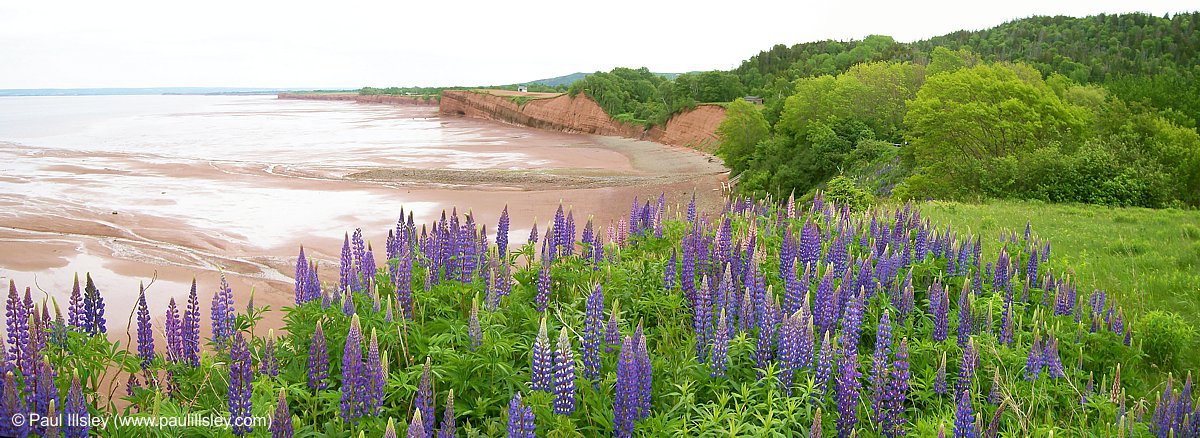
Blomidon Provincial Park, Nova Scotia, Canada
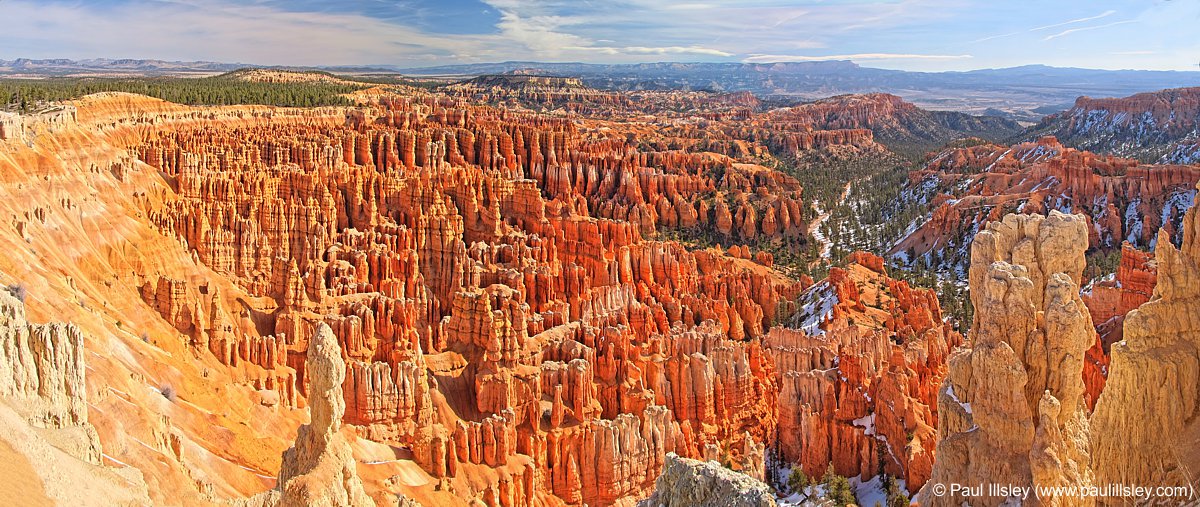
Bryce Canyon National Park, Utah, USA
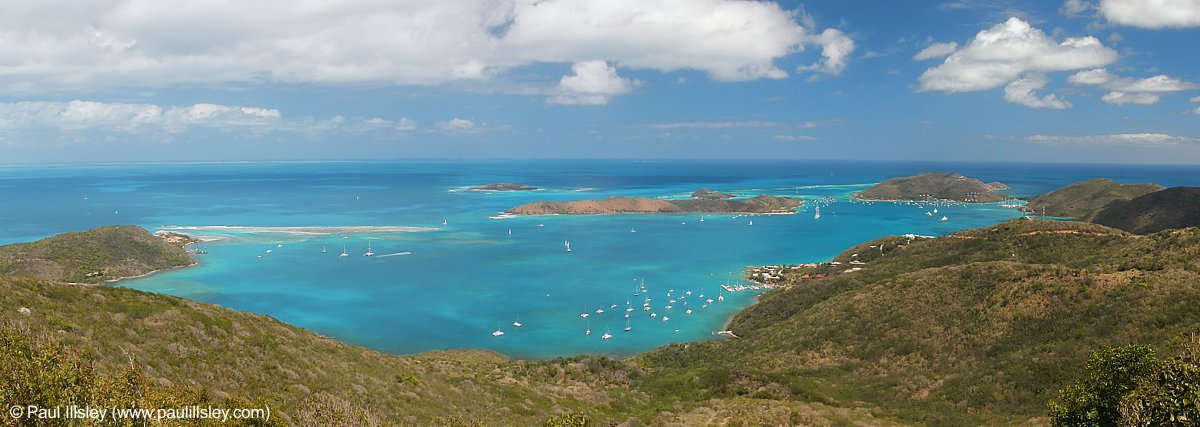
North Sound, Virgin Gorda, British Virgin Islands
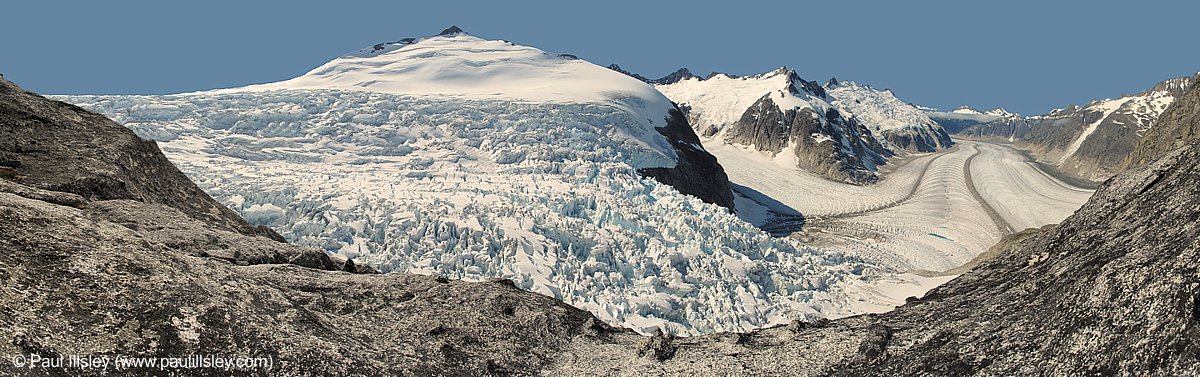
Vaughan Lewis Icefall, Alaska, USA
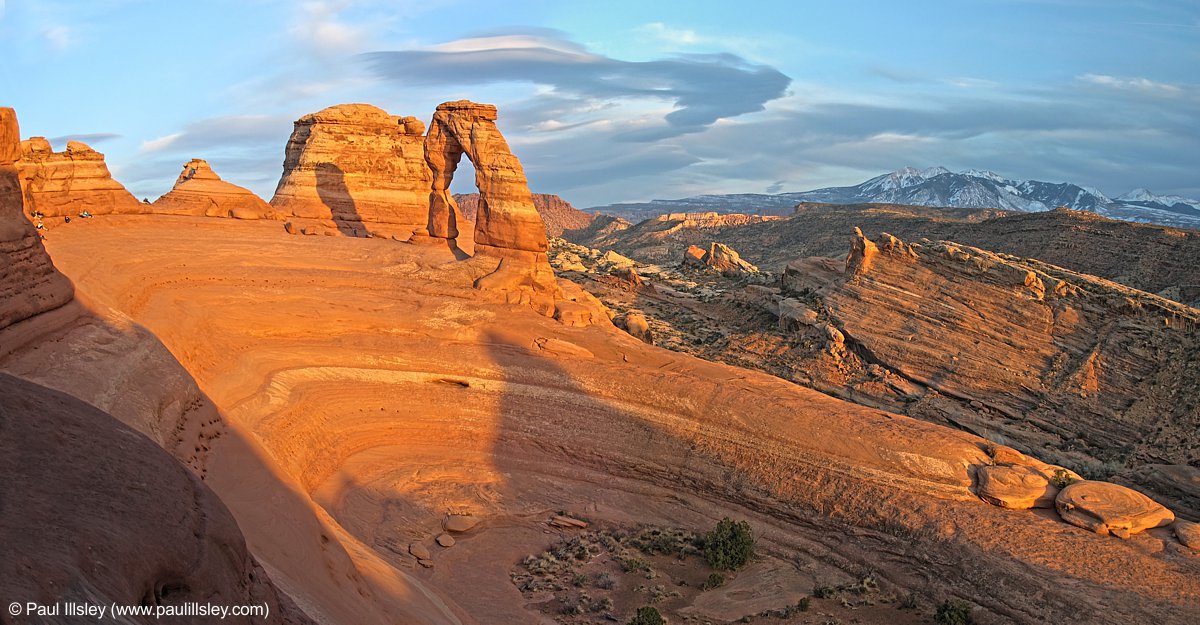
Arches National Park, Utah, USA